

Home made Nukazuke Step 1: Nukadoko
Of course we are enjoying some of the numerous wonders of the japanese kitchen, but somehow we tend to greedily stuff our faces before we have the chance to take pictures for this blog. So now I try a different approach: home made stuff.
Back in Austria I became fascinated with fermentation. I started with a small mead production in a 10l glass balloon I got from my brother. With this I was satisfied for a rather long time. After meeting Katharina and learning about her love of bread, I decided to try that on my own - and to do it properly, I started my own sourdough culture. After a year of successful tending this culture (and managing to make some actually edible bread along the way) I got interested in kefir, kombucha, pickles, yoghurt and so on. During my research I also stumbled across Nukazuke. While it was difficult to get rice bran in Austria, I decided to give it a try once in Japan. So now I am here and it is time to give it a try.
First of all: there are probably many among you who don't know what Nukazuke is and why anybody would be interested in it. The Japanese term for pickles is Tsukemono, and Tsukemono is divided into several subcategories, Nukazuke being one of them. Nukazuke are vegetables that are fermented in a rice bran bed called Nukadoko. That's for what it is. The question why anybody should be interested in it is rather easily answered: because this stuff is freaking delicious!
So now for the interesting part: how to actually make Nukazuke. Well, actually not. First we start with how to make Nukadoko, the rice bran bed in which later the vegetables get fermented. Oh, and before I forget - since this is the first time I try this myself, this whole report shall be taken with a grain of salt....
You need the following things:
A container
Rice bran
Salt
Unchlorinated water
Spices (I used Konbu and chilli, garlic is also quite popular)
Veggie scraps
For the container I bought a Nabemono pot. I have to admit, that my main reason for this was the style of it - but it satisfies all conditions: It needs to hold wet bran and veggies and should not be prone to corrosion or easily attacked by acids. Also it has a lid that does not close air tight. Basically any Ceramic pot will do - so will glass if you keep it in a dark place.
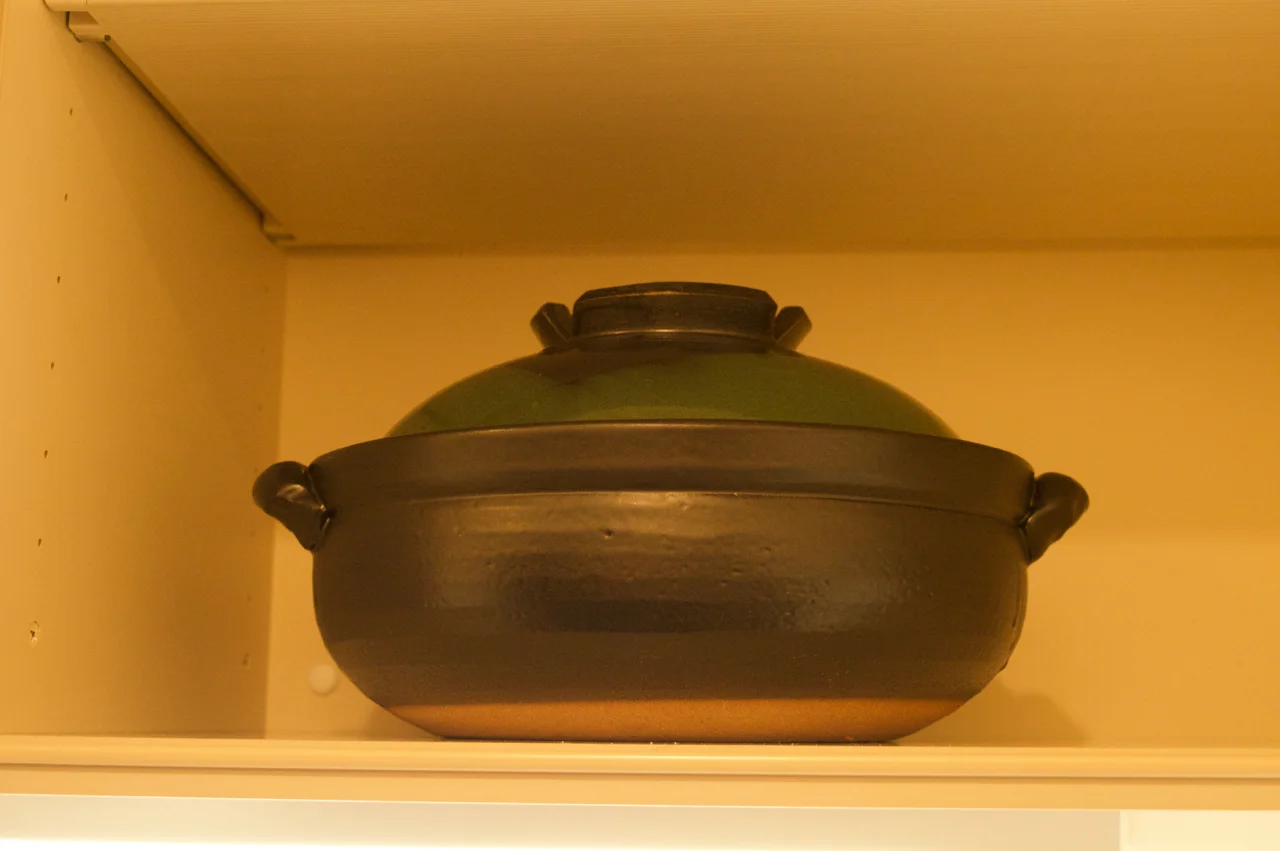
Nabemono pot repurposed as Nukadoko container
Interestingly enough I had more problems to find rice bran - but I suspect this is more because of my lacking understanding of the japanese language. The rice bran should be lightly rosted to improve the flavour (I suspect). If the amount of bran is too much to roast it in one go, don't be afraid to do it in several patches. I would advise to not turn up the heat to far, otherwise it is prone to burn. I used 1kg bran and had to roast it in 4 batches. After roasting just fill ist in your container and let it cool (If you use a plastic container, better let it cool before filling it in the container - you know common sense and stuff).


In the meantime you can prepare further ingredients. Quite a bit of salt is needed - 13% of the weight of the bran. To distribute it evenly I decided to dissolve it in water. Also the first spice I am using is konbu. While you can just stuff a konbu leaf in the Nukadoko I decided to first cook it a bit. Or at least heat it up in water. Lazy as I am, I used the same pot to dissolve the salt - and it was the same pot that I used for roasting the bran - that is the suff that is swimming around - no need to worry. Also it is recommended to use rather little water in this stage, since the Nukadoko should not be too wet - it is better to add more water afterwards until the Nukadoko has the consistency of wet sand. When adding the water to the bran, feel free to mix it up with your bare hands. In fact, this is the recommended procedure, since the bacteria from your hands is used to inoculate the Nukadoko. For those unfamiliar with lacto acid fermentation: yes we are using the bacteria from our hands to produce some tasty and healthy stuff. Suddenly the usage of a lot of antibacterial soaps and other products does not seem like such a great idea. Of course the hands should be clean and the water in which we dissolved the salt cool again. Once again: common sense.


Next you need some scrap vegetables. I used daikon, cucumber, carrots and a small eggplant. Those vegetables should be washed, cut into appropriate pieces, salted and then buried in the Nukadoko. The idea behind this is, that there are additional beneficial bacteria on the skins of the vegetables. The salt pulls out water and nutrients (starch and other sugars) from the vegetables, the bacteria have something to eat, are happy and reproduce. Therefore our brand bed gets a higher population and builds up a healthy culture. The bacteria (and also some strains of yeast, I forgot to mention them so far) metabolise the starch to acid. This acid is responsible for the tangy taste we are after. Unfortunately our Nukadoko so far is only sparsely populated and we need to leave the veggies in until all their crunchiness is gone. Well however, here are some picture of the "feeding" process:


Oh, and don't forget to clean the mouth of the container - we don't want anything invasive to start breeding there! So now we have our bran bed, some veggies buried in there. Now we need to wait. Well, not only wait. Nukadoko needs quite a bit of care: each day the bed needs to be aerated (just stir it around for a bit) and the veggies need to be replaced every other day or so. Some sites recommend to throw out the veggies (thats why scrap veggies are used) but we prefer to eat them and therefore get an overview of the condition of our Nukadoko. (In fact, the vegetables on the title picture are the same veggies you see me stuff in the Nukadoko, just two days later already quite tasty, but still no where near proper Nukazuke). It should take about 2 weeks to fully populate the bran, and then the care and production should take its final form. I will make another post then. Oh, and before I forget - the Nukadoko prefers room temperature. If it is too hot, it needs to be stirred twice a day.
Edit: Read the second part here.


